

Android gives you the flexibility to easily customize the fonts that you want to use for your Applications Text.
All you have to do is download the font file from the internet and then follow these 4 simple steps.
[quads id=1]
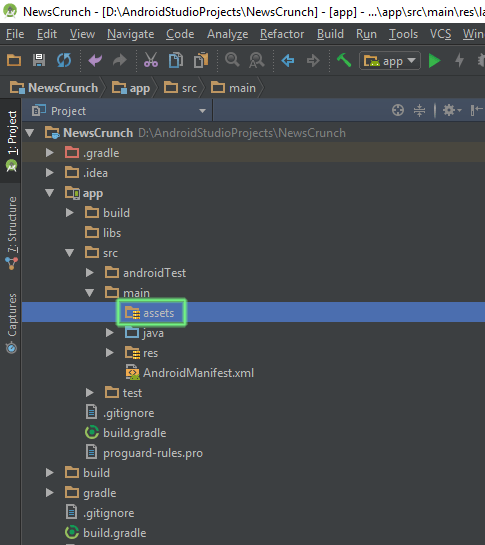
STEP #1
Create an “assets” folder directly under your project’s “src/main” folder.
[quads id=2]
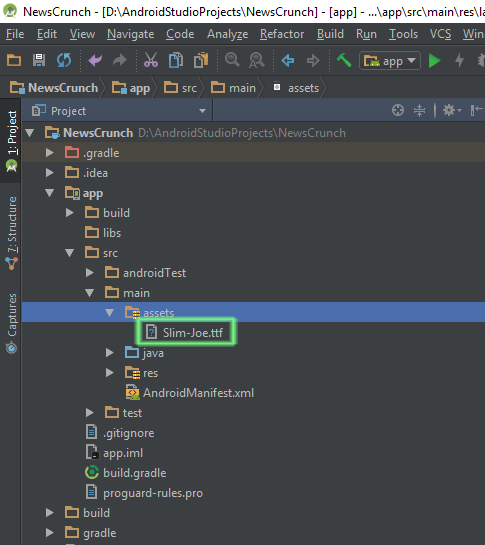
STEP #2
Copy the “font-name.ttf” file in this directory.
STEP #3
Instantiate the Typeface object using createFromAsset() method.
Typeface typeface = Typeface.createFromAsset(getAssets(), "Slim-Joe.ttf");
NOTE: If you are using fragments in your project, then you have to instantiate the Typeface object in onAttach() method of the fragment. This is done due to the fragment lifecycle, as there is a short period of time after a fragment is created but before it is attached to a host activity.

STEP #4
The last very important step, once all the above 3 steps are done, all you need to do is take the references of TextView objects and then specify the setTypeFace() method passing in the typeface object as the parameter.
TextView textView = (TextView) findViewById(R.id.textView);
textView.setTypeface(typeface);
[quads id=3]