What is a QR Code?
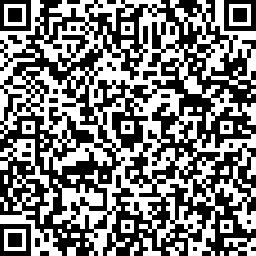
You may have already seen QR Code many times. The best example is Whatsapp Web and we are pretty sure that if not all then most of you know that Whatsapp Web also uses QR Code for login. Let’s understand first what QR Code is? – It stands for Quick Response Code and is a 2-Dimensional Bar Code. This Code stores some data and is represented by black squares over white background. The data stored can be read by the camera or other imaging devices. Below you will see a sample QR Code that we have generated to create a sample Android QR code scanner tutorial.

How to Generate QR Code?
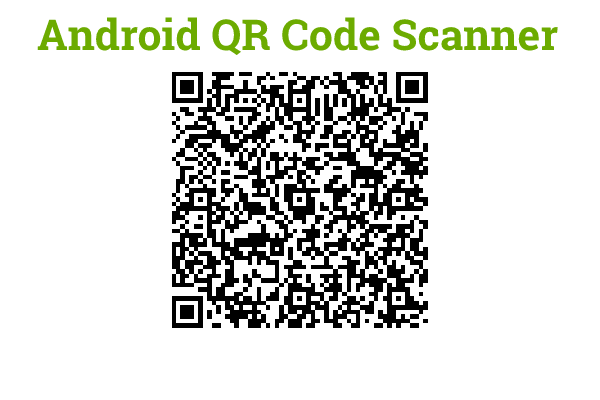
The first thing needed to scan a QR Code is a QR Code itself. So for this tutorial, we have already generated a simple QR code consisting the Fruit Name, Size, and Color. Below is the QR Code that we have generated using the free service.

To generate your own QR Code you can go to this link. Below the sample JSON String which we have used to generate this QR Code.
{"fruit": "Apple", "size": "Large", "color": "Red"}
Creating Android QR Code Scanner
This project will work for BarCode also.
Create an Android Project
- Start by creating a new Android Project.
- Let’s name the project AndroidQRCodeScanner.
- Pick the default settings for the rest of the steps.

Add ZXing Library
- For reading QR Code we will be using Zxing Library.
- So once your project is loaded go to your app level build.gradle file and add the following dependency.
- After adding the dependency just go ahead and sync the project with gradle.
dependencies {
    implementation fileTree(dir: 'libs', include: ['*.jar'])
    implementation 'com.android.support:appcompat-v7:26.1.0'
    implementation 'com.android.support.constraint:constraint-layout:1.0.2'
    testImplementation 'junit:junit:4.12'
    androidTestImplementation 'com.android.support.test:runner:1.0.1'
    androidTestImplementation 'com.android.support.test.espresso:espresso-core:3.0.1'

    //add this dependency
    compile 'com.journeyapps:zxing-android-embedded:3.4.0'
}
Create the User Interface
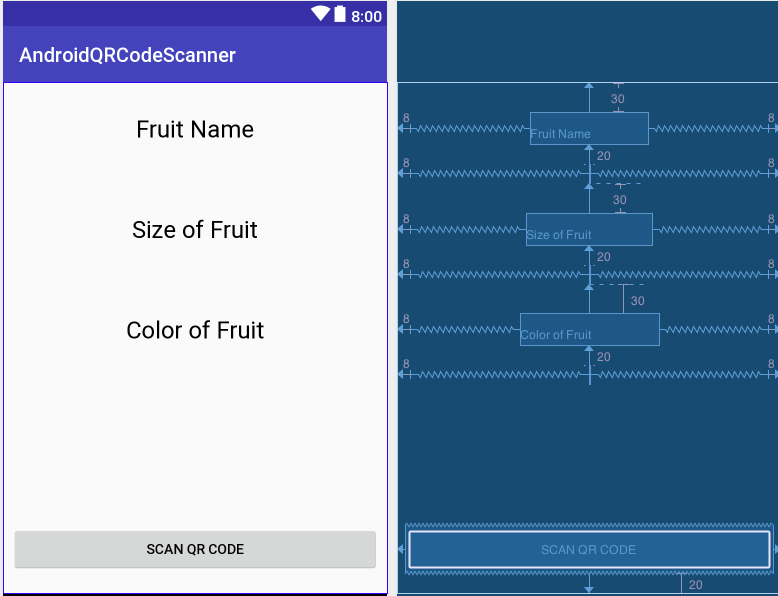
- We have three values (Fruit, Size, and Color) in the QR Code that we generated. So we have designed the following layout that will display Fruit Name, Size, and Color. We also have a button in the layout that will open up the camera for scanning the QR Code.

- For your quick reference, we have provided below the XML layout file.
Let’s Code Android QR Code Scanner
- Open up your MainActivity.java file and define the view objects.
- Next step is to attach OnClickListener to the button.
- Once you are done with the above-mentioned steps, its time to Scan the QR Code. But aren’t we missing the main part here? Where is the code for scanning the QR? Well for your reference we have provided below the complete code for MainActivity.java file with proper comments for your easy understanding.
Once you are done with your changes, now is the right time to run your app.

Bingo! Our Android QR Code Scanner is working absolutely fine. Feel free to leave out your comments if having any confusions or queries. Thank You ?

